Multiple-line Address - Invoice Manager for Excel
What is this sample for?
This document "Multiple-Line Address in Invoice Form" was written for Excel Invoice Manager. If you are using Invoice Manager for Excel and newer versions of Excel, some command names and their locations may vary.
The standard/default invoice template shipped with Excel Invoice Manager installer displays only one line in both the BILL TO and SHIP TO address fields on the invoice form.
If you prefer to use a template that supports multiple lines of address, click the following links to download it:
Steps of customizations
If you prefer to customize your printable invoice template yourself, here are the steps.
- Copy your template to make a backup, and then open it in Microsoft Excel.
- Unprotect the Invoice worksheet. (How?)
- Switch to design mode. (How?)
- Display gridlines and row/column headings. (How?)
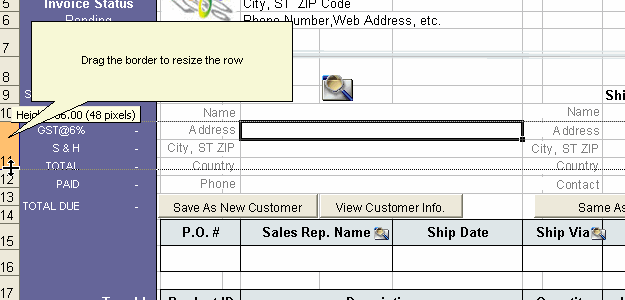
- Drag the border of the row heading where the
Address cell resides. This increase the height of the row, so that the address line is able to hold multiple lines of address.
- This step is required only when you are using a template that was released prior to Excel Invoice Manager version 2.10.1014.
Push the CTRL key on your keyboard; click the two address cells in turn to select the cells.
Right-click one of the selected cells, choose Format Cells from the menu.
Go to the Alignment tab.
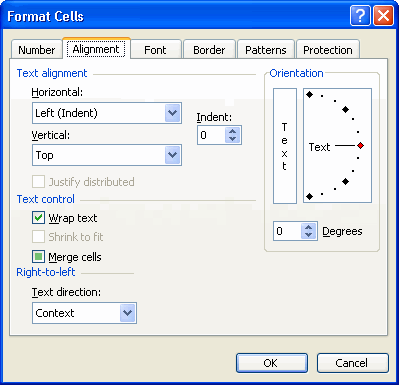
In the Text alignment section, choose Left (Indent) from the Horizontal list, choose Top from the Vertical list; in the Text control section, check the Wrap text option.
Click OK to close the Format Cells dialog box.
- Try to enter sample text into the new address cells. To start a new line when entering text, press ALT + ENTER keys on your keyboard.
- Click Excel menu File -> Print Preview, to make sure the invoice form can be printed on a single page. If it isn't, try to decrease the heights of the other lines. Visit printable invoice forms for more information.
- Drag and drop to move the buttons, such as the Save As New Customer and View Customer Info buttons, to make sure they don't overlap those cells where you need to enter data.
- Once finished, exit design mode.
- Hide gridlines and row/column headings.
- Protect the Invoice worksheet.
- Save the template by clicking Excel menu File -> Save in Excel 2003, or by clicking Office button -> Save in Excel 2007, or by clicking File -> Save in Excel 2010 and higher versions.